Yesterday I took a break from sewing and went to my friend's house for some Christmas crafting. I went back and forth on what I wanted to craft; a new wreath, garland, hair clips? While walking the aisles at Hobby Lobby, I came across soap making supplies. I got so excited that I quickly threw about 5 different things in my basket and headed for the check out line.
I have learned that you can custom make your soap however you want and that it is super easy.
I have learned that you can custom make your soap however you want and that it is super easy.
Supplies:
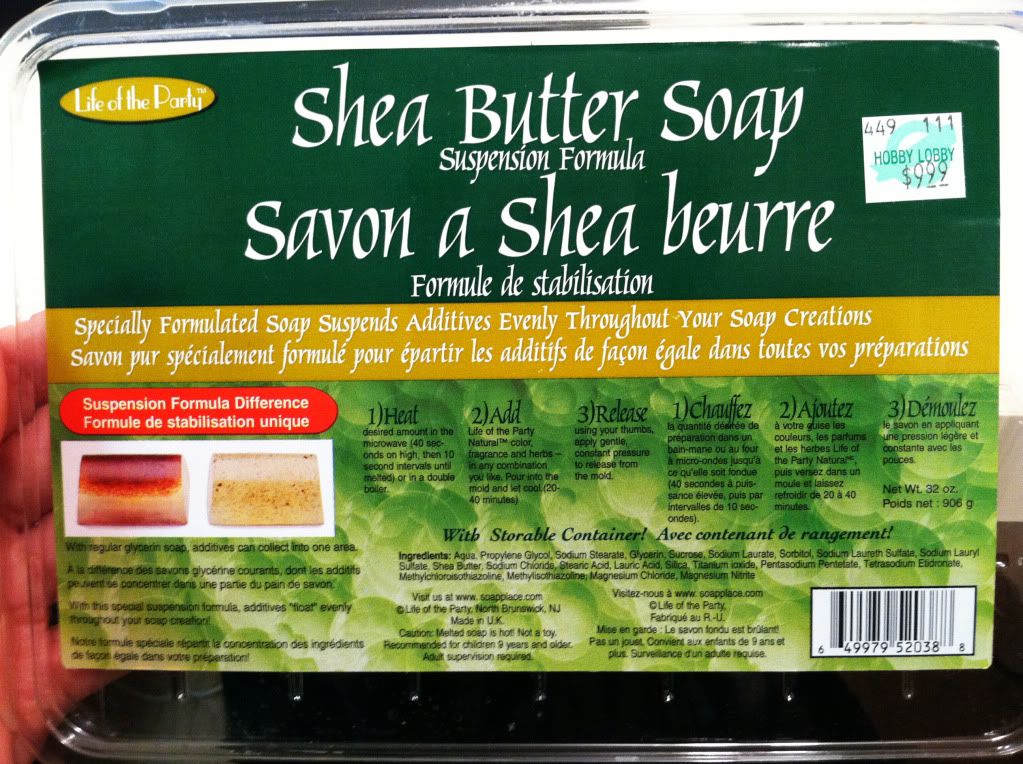 Soap base: you can buy this at Hobby Lobby or online. There are four different bases - olive oil, shea butter, goat's milk and regular glycerin formula. All are melt and pour formulas.
essential oils of your choice (lavender, peppermint, lemongrass, or anything else that smells wonderful)
additives of your choice (vitamin E oil, extra shea butter, powder coloring, etc)
exfoliants of your choice (dried lavender, poppy seeds, oatmeal, etc)
cutting board
knife
microwave
microwavable bowl
spoon
molds (silicone cupcake pan, clear plastic molds, candy molds, etc)
First:
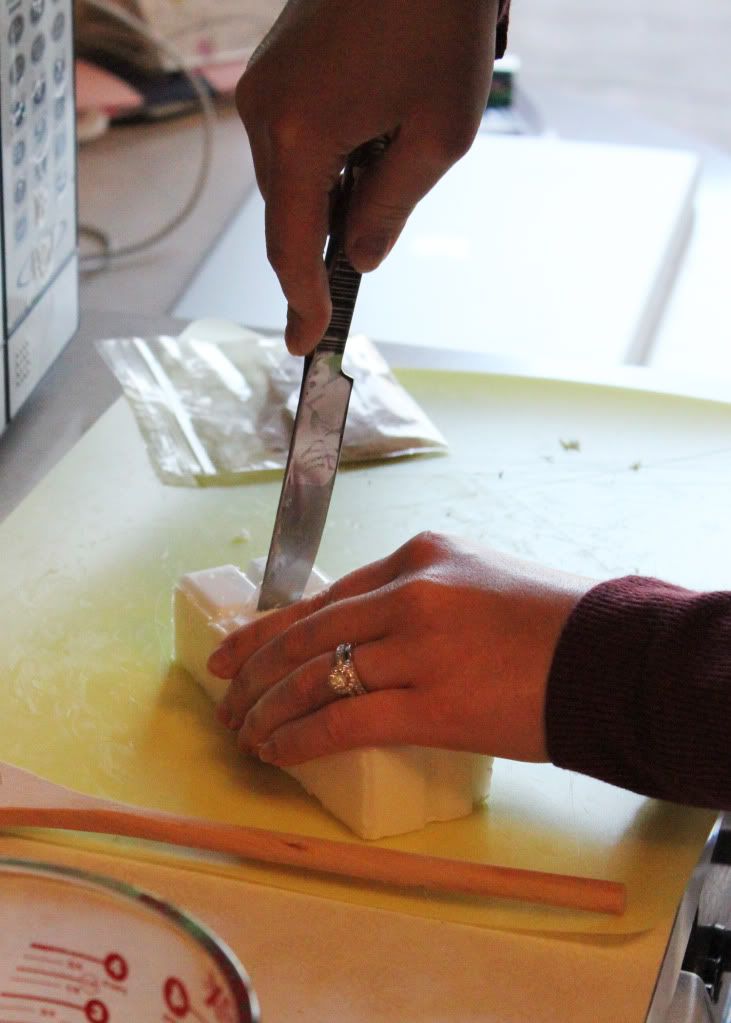
Cut down the soap formula into smaller pieces and place in a microwavable bowl.
Second:
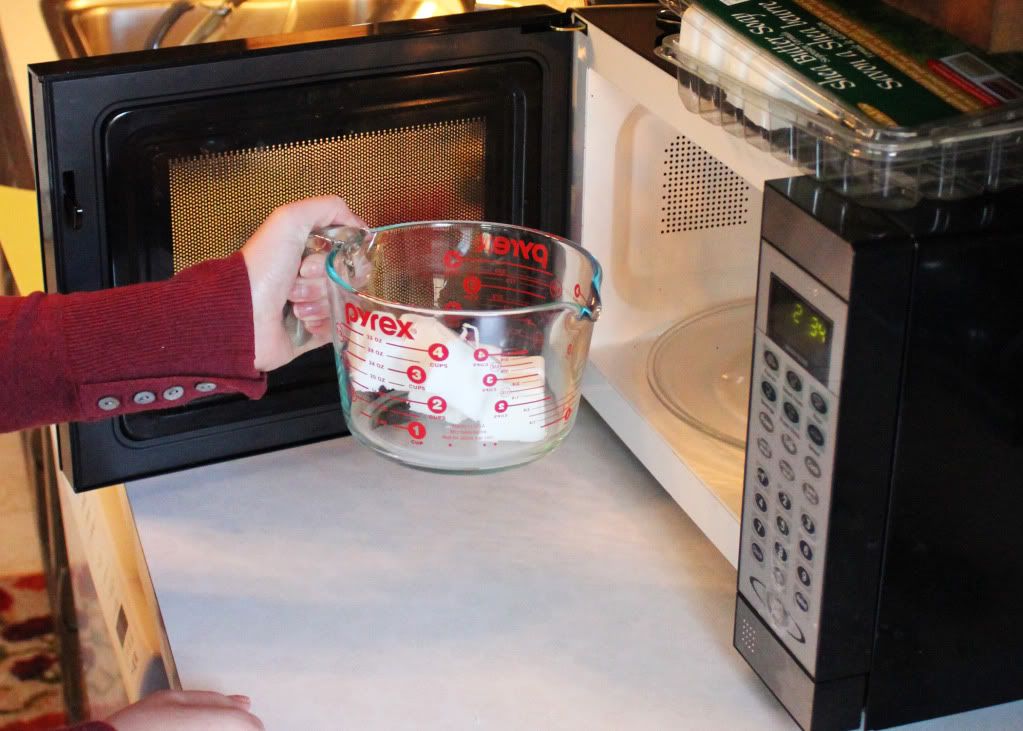
Microwave the soap for 40 seconds; stir and then microwave for 10 seconds at a time until all of the soap formula is melted.
Third:
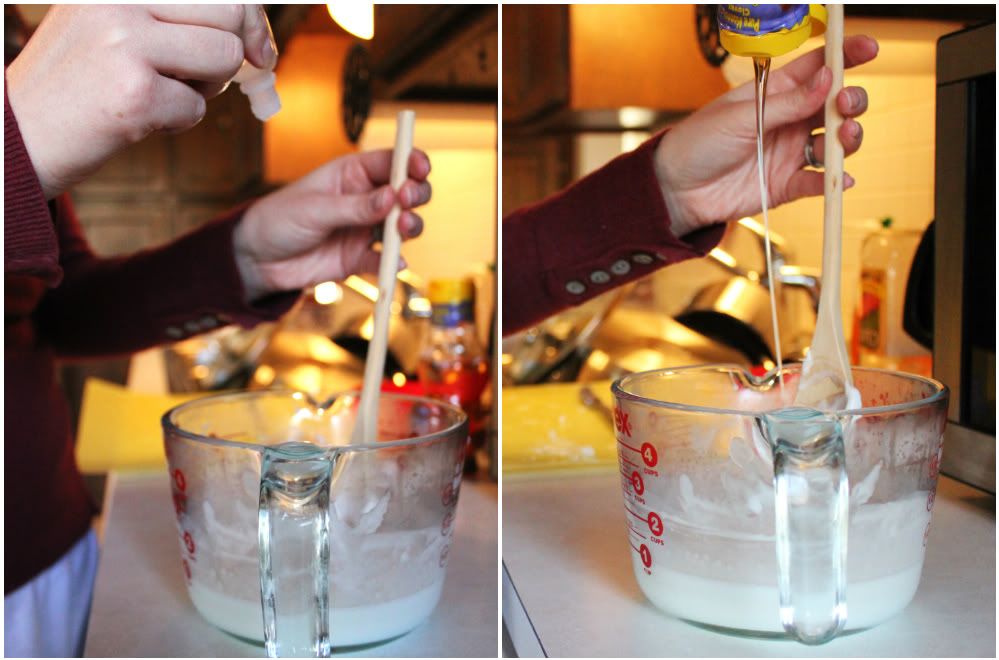
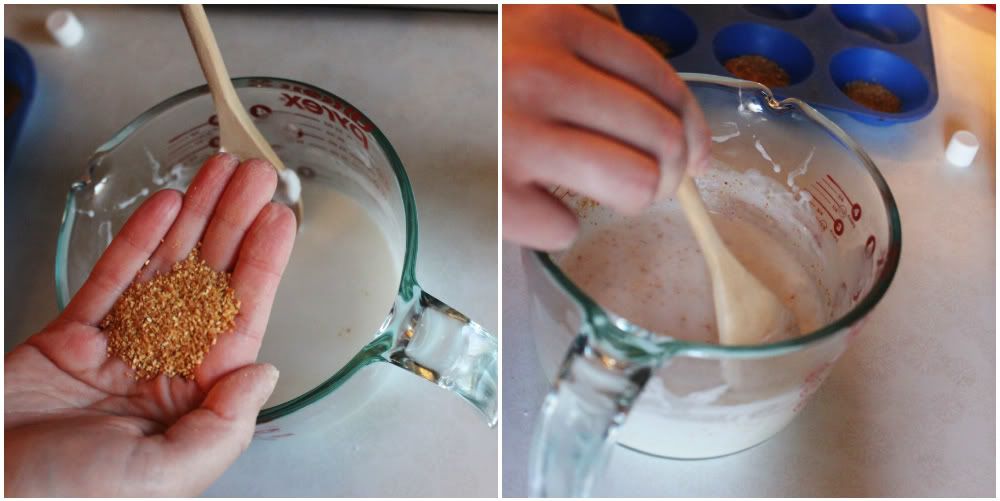
Stir in any oils and additives you want to include in your soap. I added honey almond oil and about 1 tablespoon of honey to my soap. The oil packaging said to add 3-9 drops of oil per ounce of soap. Either I miss counted, or I would double what is recommended. You can smell the oils when you hold the bar of soap up to your nose, but I like a scent to linger a little bit after I wash my hands.
After you add your oils and liquids, stir well. Next, add your exfoliants or any other additives; stir well. I added dried orange zest to my honey almond soap.
Fourth:
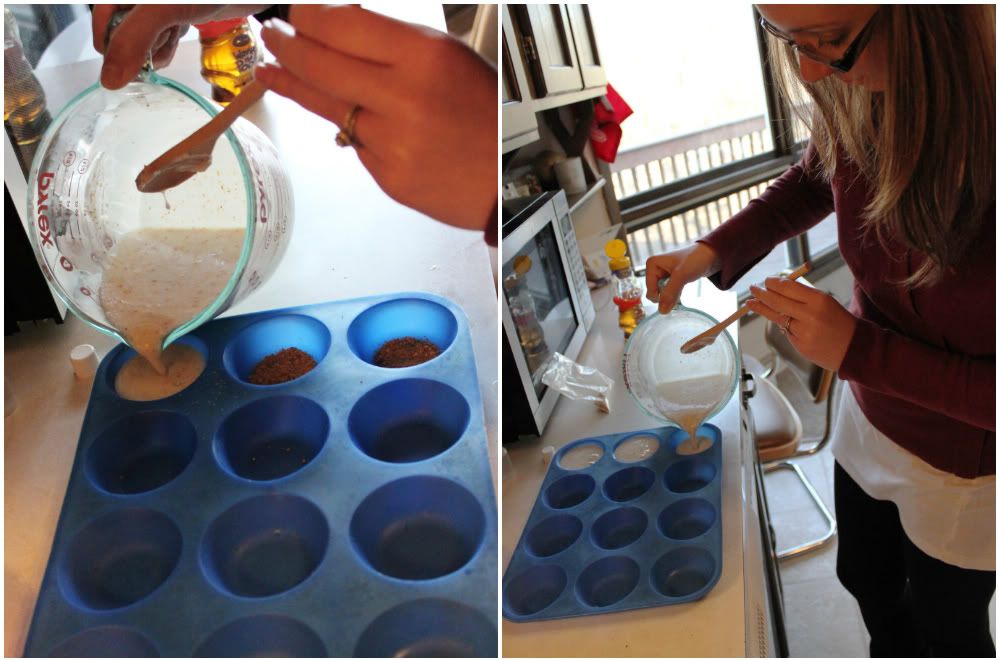
Pour into a mold of your choice. I poured my mixture into a silicone muffin pan. *If you would like some extra exfoliant on the top of the bar, pour a tiny bit of soap mixture into the mold, sprinkle your exfoliant of choice, and then fill the rest of the mold.
Last:
Let the soap sit in the mold for 15-20 minutes. Once the soap is cooled it is ready to pop out of the mold.
You are now ready to clean yourself!
You are now ready to clean yourself!
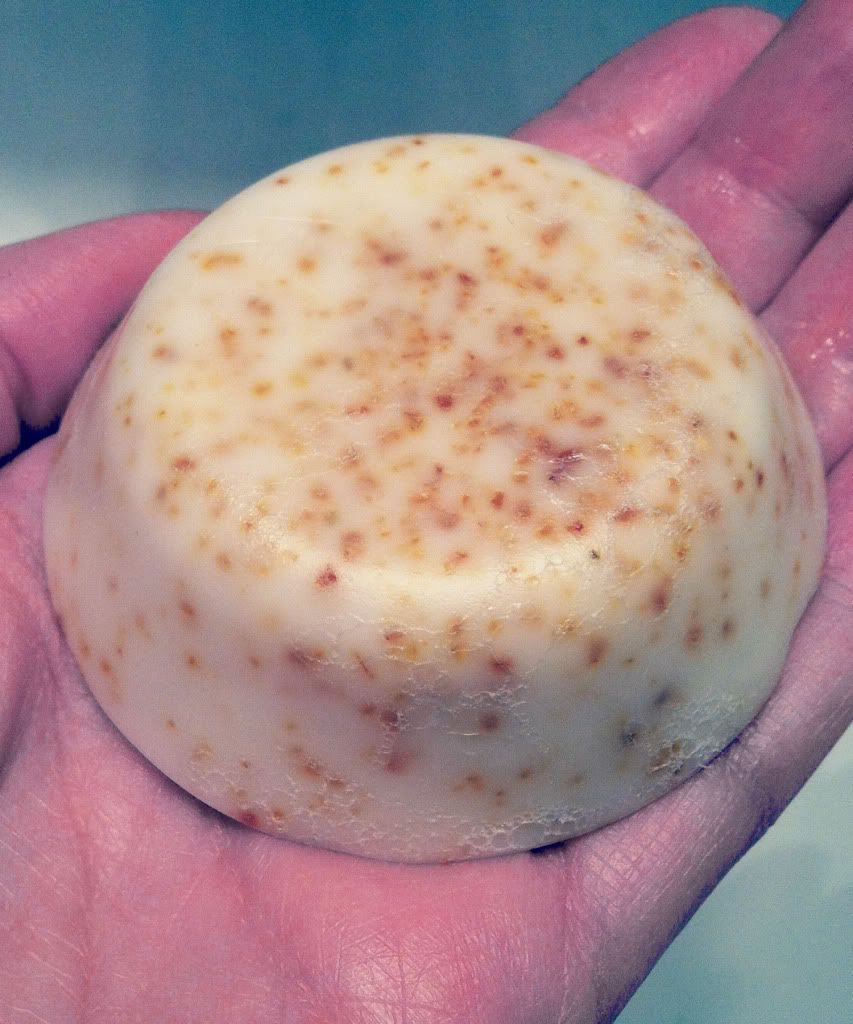
*If you look real close at the bar of soap {not my dry beat up hands} you can see there are tiny tiny air bubbles. The book I purchased suggests spraying rubbing alcohol in the mold and then on the bottom once the soap is poured into the mold to decrease the little air bubbles.
Because I love a good bar of soap, I purchased a book that recommends different scents, mixtures, designs, and other fun stuff.
Today I am headed to the grocery and am going to pick up some more additives like mint leaves and a lemon to zest!
Happy Friday!




3 friendly comments:
I cannot express my excitement about this tutorial!!!! I can't wait to try this at home! Thanks for posting!
how fun!!! i've always wanted to make my own soap. maybe now i'll actually give it a go!
This is great, thanks Michelle! I'm going to pin this right now. I wish we had a hobby lobby here in Hawaii. :)
Post a Comment